Overview:
| CPU | MicroComp |
| Data | 8 bits |
| Memory | 2x 16 bits |
| Registers | 3 1/2 |
| Architecture | Modified Harvard |
| Technology | TTL |
| Status | There is at least one major bug in the TTL version |
| Successor | None |
| Time period | December 2017 - present |
Problems:
- A seems to be loaded when it is not supposed to.
Lessons:
- "Broadside" chips such as 74574 and 74245 are a lot nicer to wire than chips such as 74244.
- Buses are very messy and difficult to wire on solderless breadboards.
- When determining which features to include in a CPU, consider how many extra chips each feature uses. I did not do this, so I only realized much later that allowing the C register to be read would only require one or two extra chips and add much more programming flexibility.
- Use a PCB.
- Simulate the machine before building it.
- Load the microcode output into a register to prevent glitches and latency issues.
- Logic analyzers are helpful.
- If it occurs to you that something might be a problem later, then thoroughly investigate it. It is very likely that it will cause trouble later.
If you read about Mini Comp, you would know that it failed me and that I replaced it with MicroComp. Yes, I do find it kind of odd that I named a 4-bit computer Mini Comp and a larger 8-bit computer MicroComp. Design went well, but it inherits its predecessor's instruction set style. That is not great, but it works because four times as many instructions are available.
The plan to make MicroComp started around the end of November 2017, but because of my busy schedule at school, design did not actually start until winter break. Just like Mini Comp, MicroComp received a load-store architecture that is very difficult to work with. At least it can manipulate arrays without self-modifying code. To make it a bit easier to program, I planned to make a virtual CPU with an instruction set that only operates on memory. This is a bit similar to Gigatron's vCPU, except that instead of running from data memory, it will be required to run from program memory.
Over spring break I built the computer. At first the wiring didn't bother me, but after spending hours cutting, stripping, and poking the wires into the breadboard, it became quite tedious. I did finish, but I do not think I powered it on until summer arrived.
My original plan was to disconnect all control signals that could possibly cause bus contention before I turned on power. Instead, I got impatient, and I turned the it on anyway. The first thing I noticed was that the computer was drawing over 2 A. TTL is power hungry, but 2 A did not seem right. Assuming each of the 40 chips consumed 20 mA of current, the computer should draw about 800 mA. I suspected that most of the wiring was correct, and that there was probably only a few components to blame. An infrared thermometer was very useful and showed that the capacitors and all of the chips were at a relatively low temperature, except for the flag register 3-state buffer, which read 105 °F. After rotating the chip 180°, the power supply current was about 800 mA. Much better.
After fixing a few wiring errors, it was time to run the test program. The first instruction was LDI 0xDE A with an opcode of 0x01. At least, that is what it should have been. The opcode is located in the upper 5 bits of the instruction byte (resulting in 0x08), but instead I placed it in the lower 5 bits (resulting in 0x01). That meant that the CPU had to sit until the next time I could get to school, since I did not have a sufficient flash programmer (the one I made doesn't count). I don't remember how or when, but I also discovered a few bugs in the microcode that I later fixed.
Since MicroComp did not have any programs it could run, I decided to simulate it when I came across this warning. I found some more bugs in the microcode and in the schematics, which shows just how useful this step is. I fixed the bugs in the microcode and then programed it into flash at school.
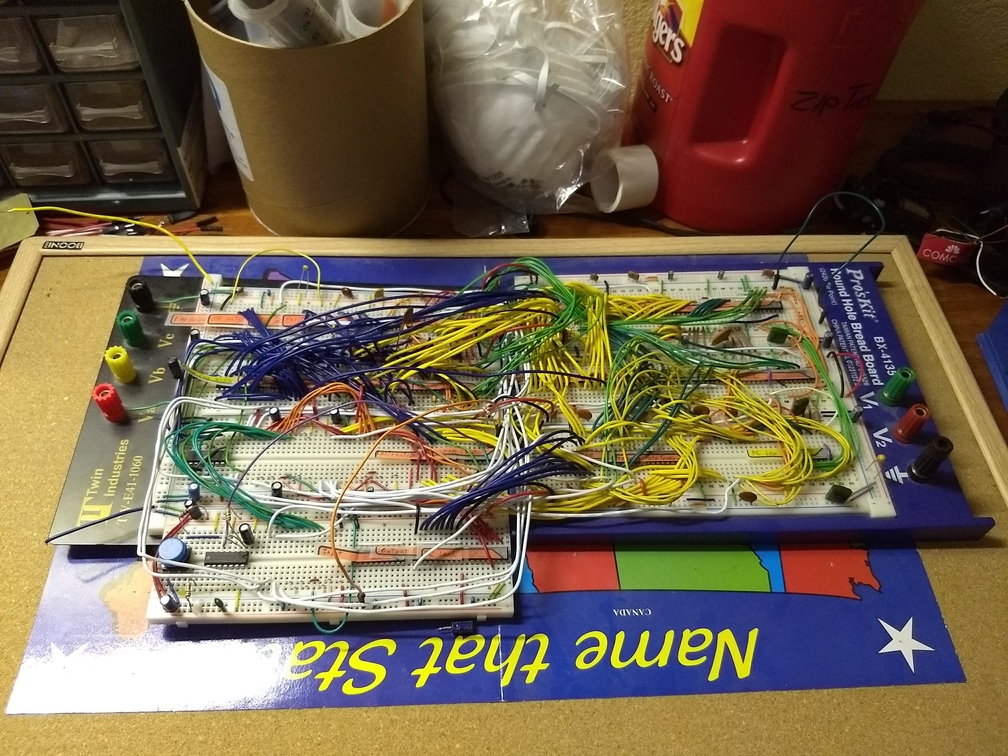
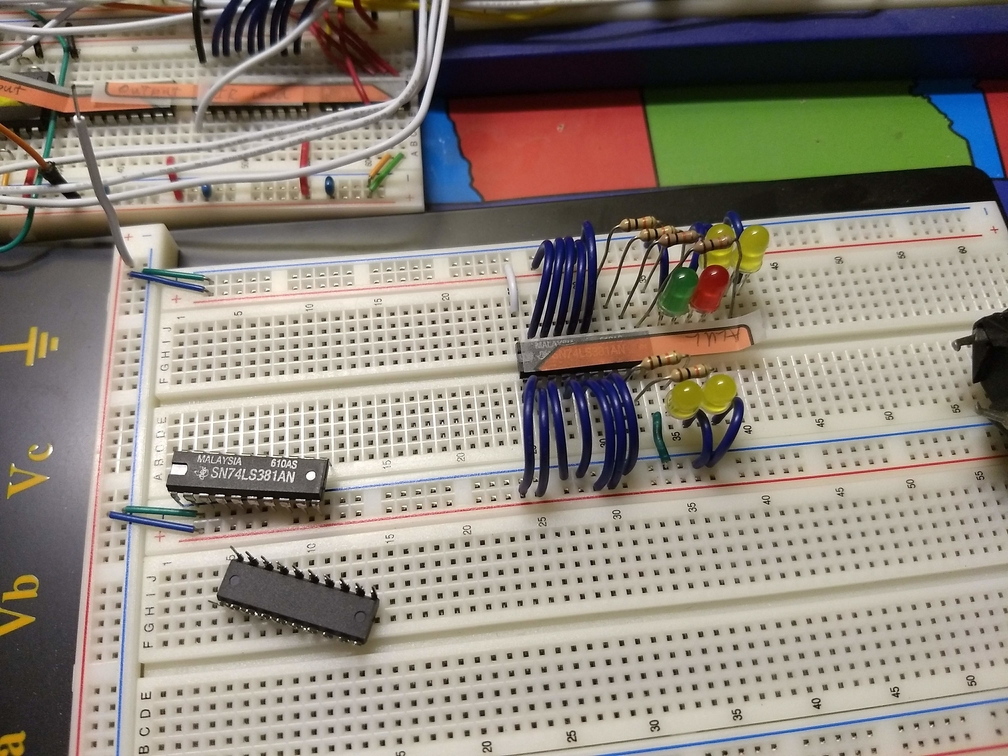
Once the final version of the microcode and test program were programmed, I went step-by-step through the test program, comparing the predicted result with the actual result. All of the instructions up to the addition instruction were tested, when I found that the low nybble of the ALU was adding 1 when it was not supposed to. My first thought was that the carry in (Cn) was stuck high because of improper wiring. I checked Cn, but it was low. A0 and B0 were in the correct state as well. When I checked the wires connected to the pins I found that they matched the schematic, and the schematic had been verified in simulation using the very same test program. At this point I became suspicious of the ALU (74381), so I took it out and tested it under the same conditions. It worked fine. I rechecked the wiring of Cn, and found that the carry bit in the flag register was not connected to it. Once I made the connection, addition worked fine. So why did Cn act like it was high, but when checked was low? What probably happened is that the pin floated high because it is TTL, but the LED that I tested the pin with pulled the pin low. If I tested the two pins at the same time, it would have taken a lot less time to diagnose the problem.
A little before I found the addition bug, I noticed that the instruction SWF A F sometimes moved A to F but not F to A. After the addition bug was fixed, this is the only way it would behave. Unfortunately, I think the only way I can get around this is to load the microcode into a register before the instruction is executed, or to slightly redesign the ISA. I will probably choose the latter. This may involve adding a 3-state output to the C register so that it can be used as an ALU input. This would make arrays a lot easier to implement. I refuse to take this machine apart after I have spent this much time on it. Maybe while I'm at it I'll add DMA.
7/19/2019
I redid the microcode, but I did not want to generate the binary by hand as I had been doing previously, so I wrote a simple microassembler. Besides providing a useful tool to assemble microcode, it also allows me to easily modify the instruction set. Microcode v1.1.0 was slightly better than microcode v0.3, but I think I can vastly improve the ISA by increasing the number of instructions and adding multiple addressing modes to instructions that were formerly only meant for registers. (A few hours later...) The additional addressing modes required the destruction of the contents of some of the registers, so I came up with an instruction set that worked directly on memory. A comparison of Fibonacci using both instruction sets revealed that the load-store version (v1.1.0) was both faster and smaller than the memory-memory version. As a result, the only change I am making to v1.1.0 is to double the number of instructions to 64. I will have unused opcodes, but that is fine since I have plenty of memory in the microcode ROMs.
7/21/2019
Once again, the VHDL simulation is proving helpful with debugging. I seem to have found a bug in Vivado's behavioral simulation though. When I load a new version of the microcode into Vivado, I am able to read it from its text editor, but when I run a simulation using that version of the microcode, nothing changes. To fix this, I have to modify one of the VHDL files. Once I do that, the simulator uses the correct version of the microcode. It seems like this is a problem with caching memory files and not using the original copy. I guess this is a case of a feature that has turned into a bug.
Fibonacci works in simulation! Now I need to figure out how to program the ROMs. I guess I will take a break from MicroComp and work on the flash programmer.
1/8/2020
I have done nothing with the programmer.
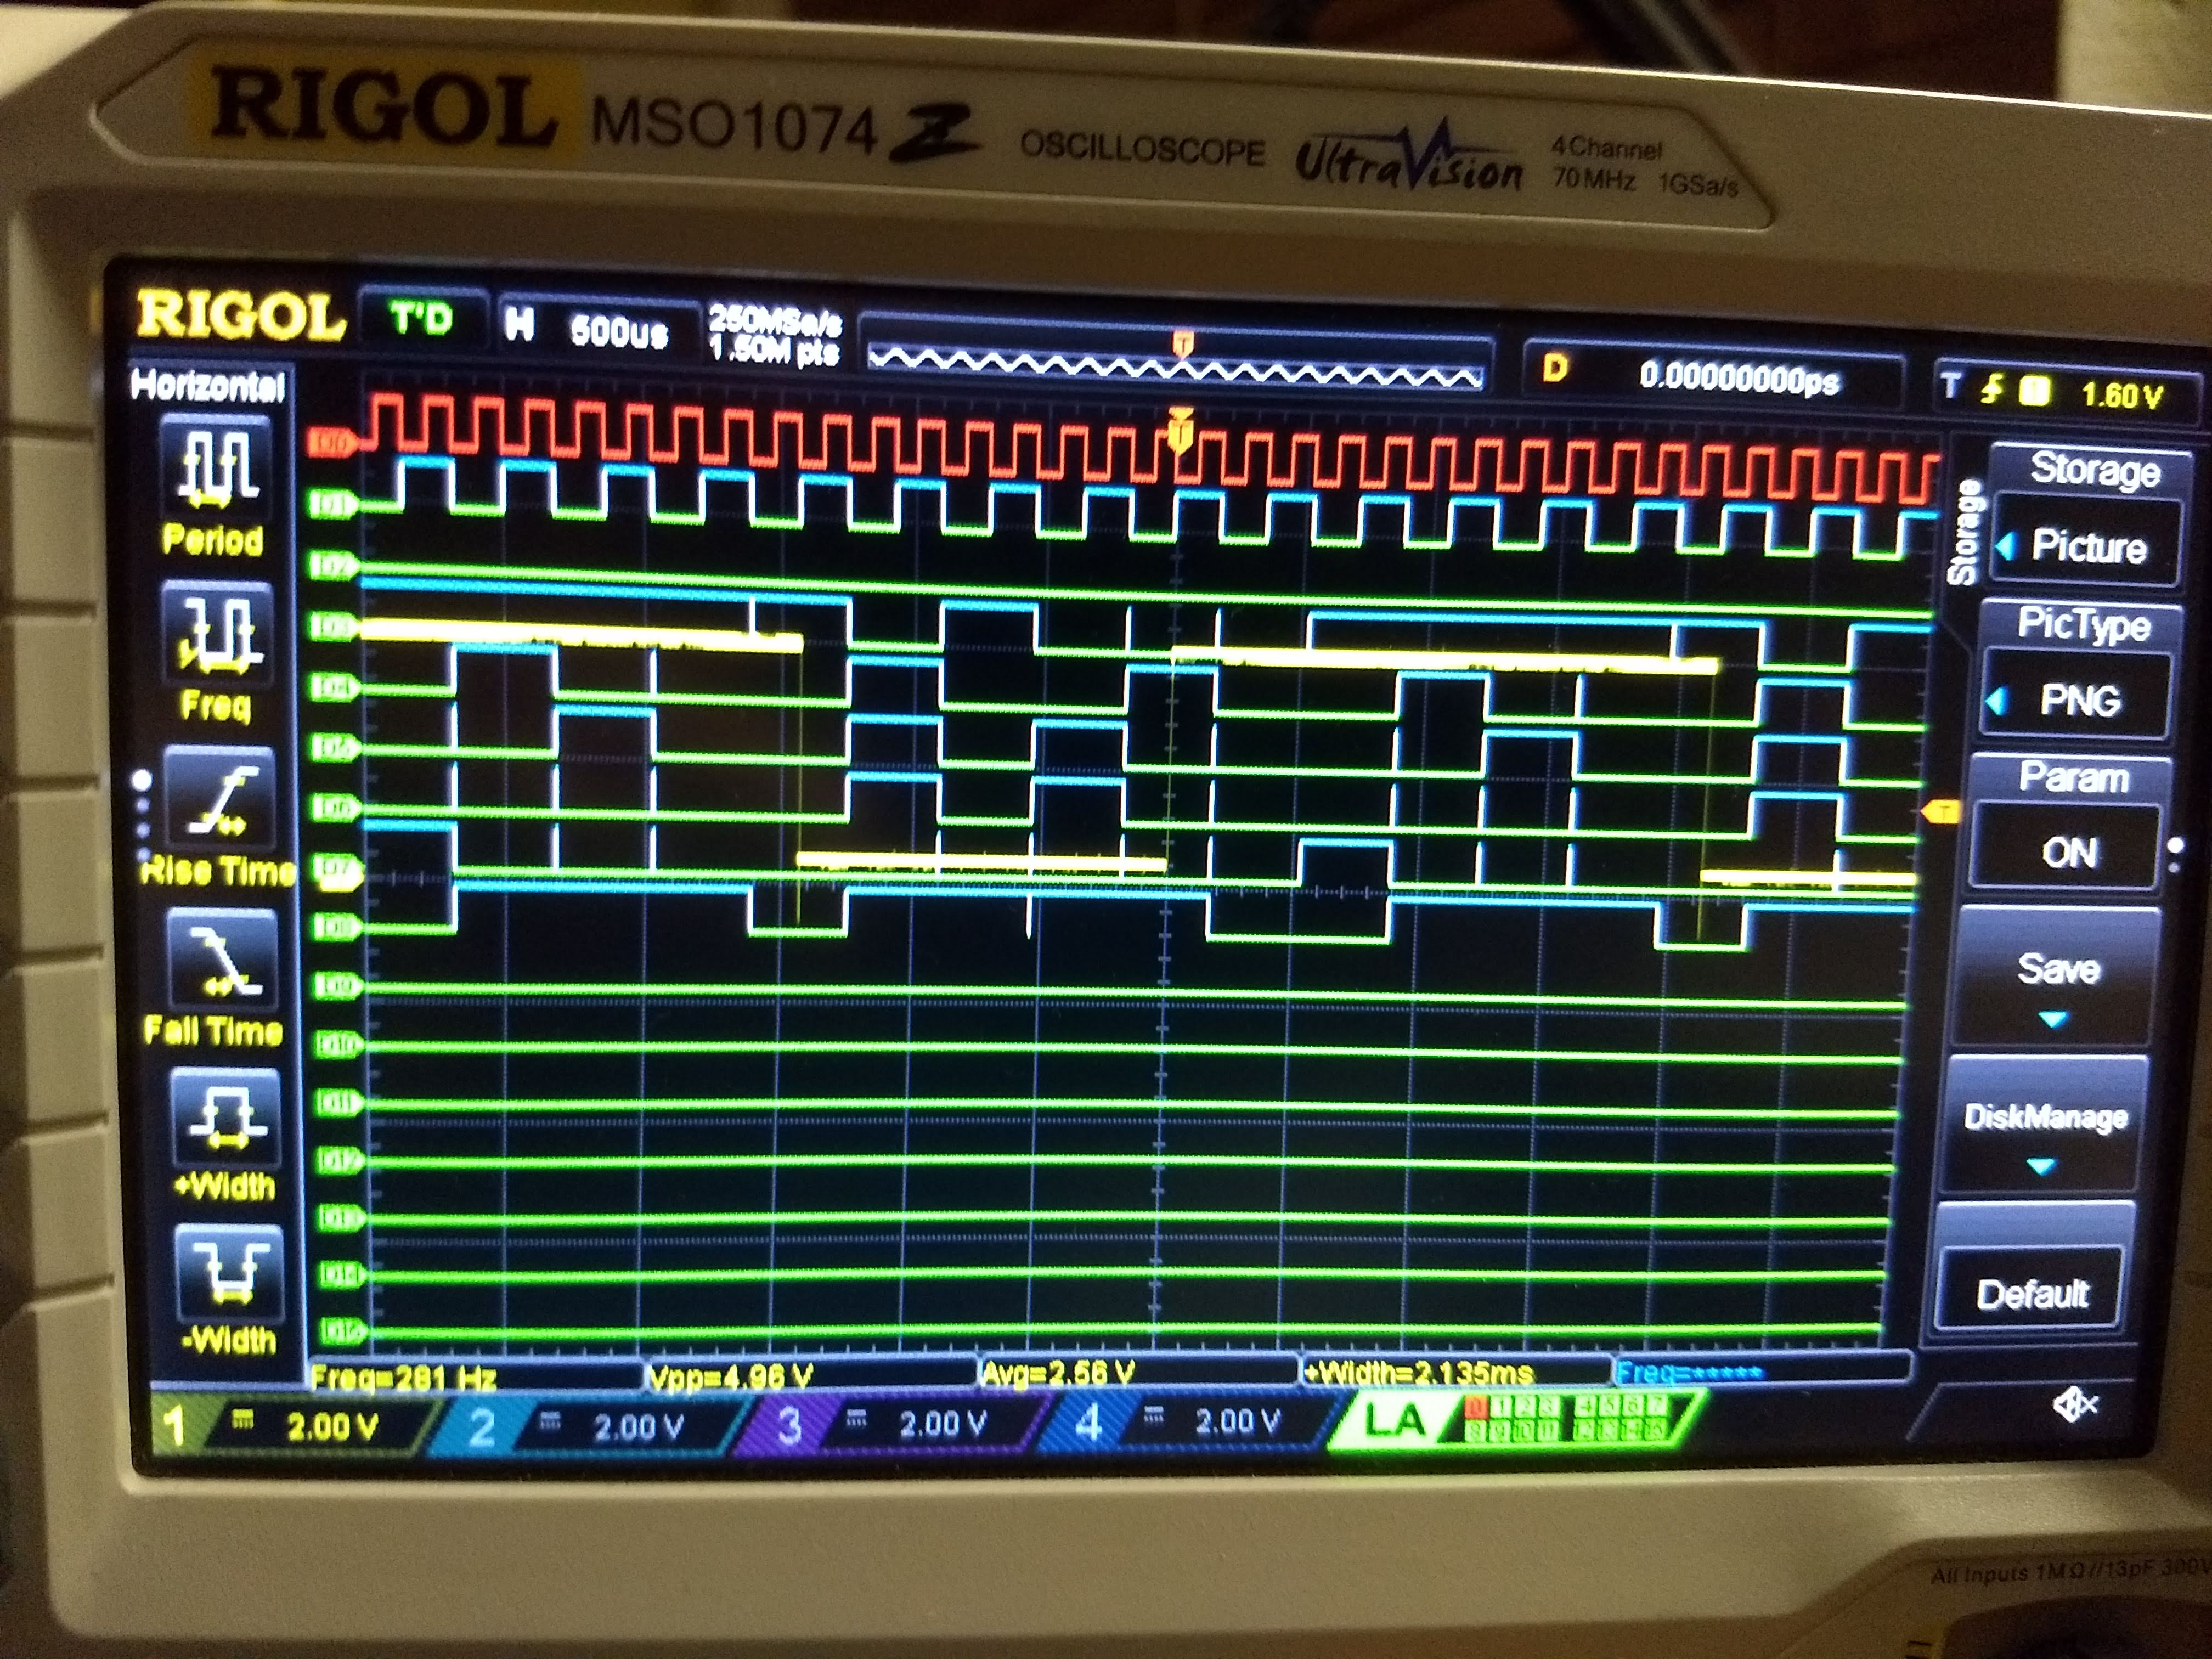
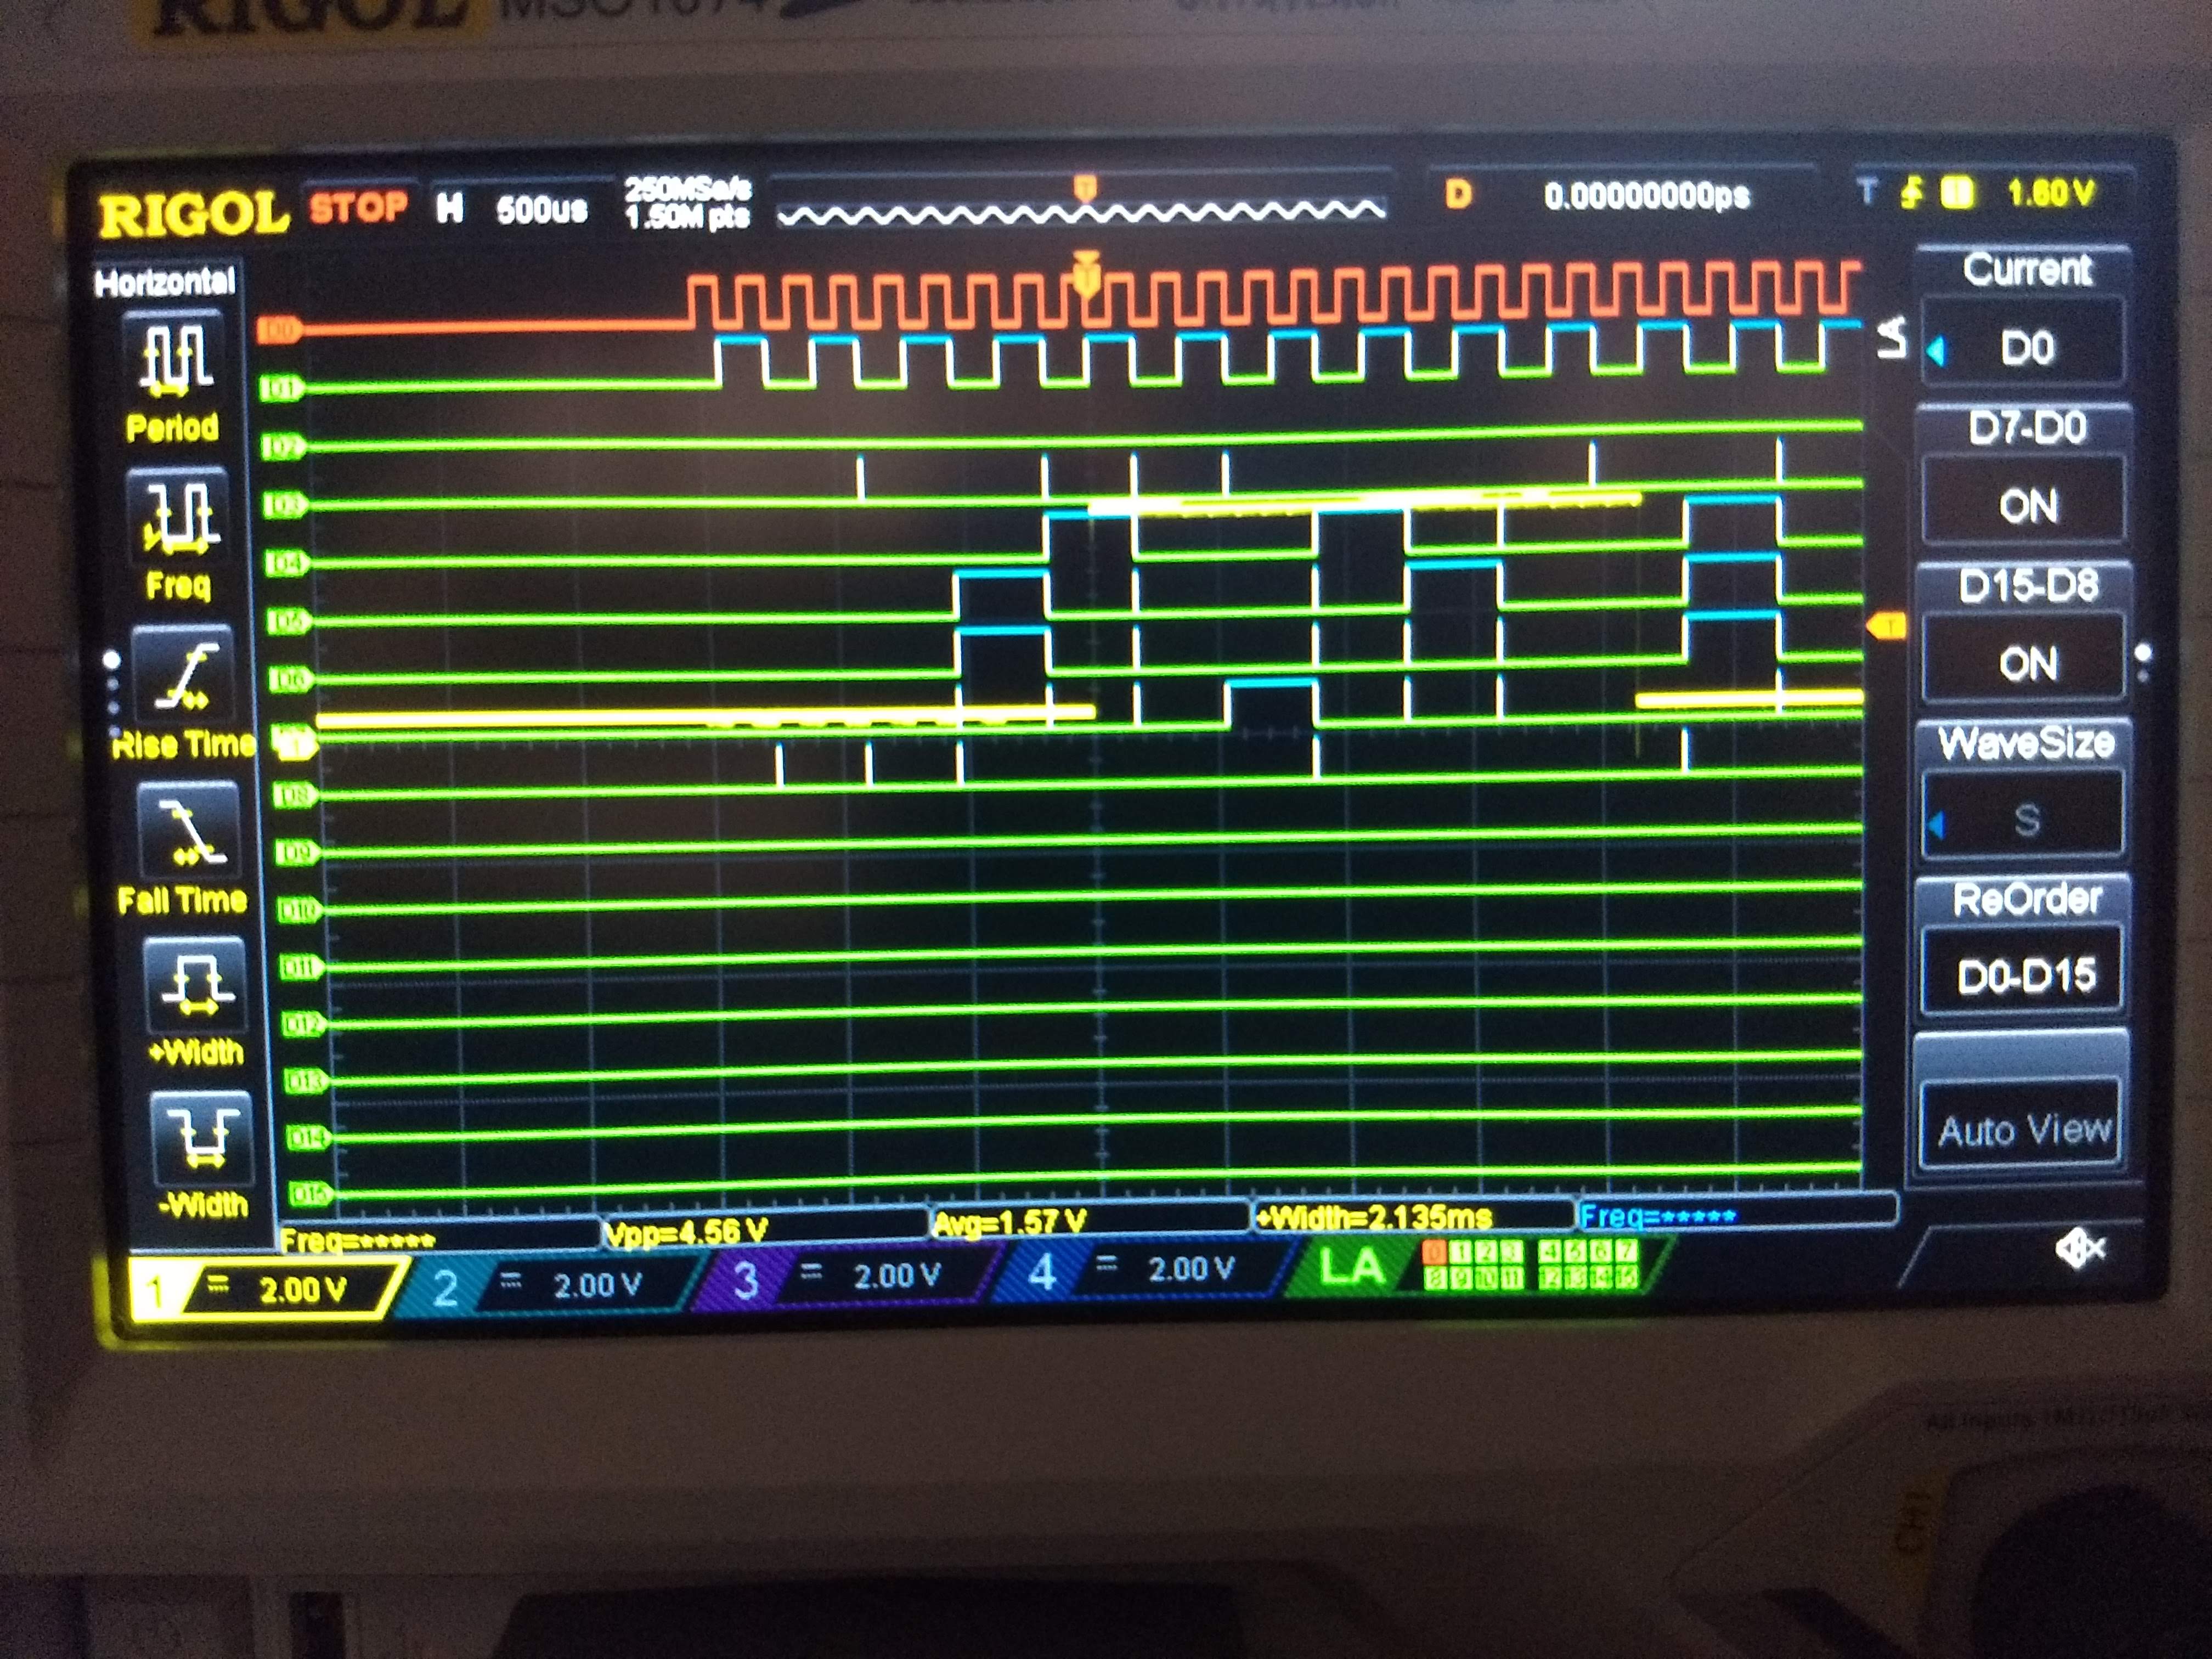
The MicroComp hardware has almost reached v1.1. I have made all the changes required to run a Fibonacci program. This leaves the C register data buffer as the only modification left to add. So do we get blinky lights? No we do not. I don't have the annoying swap A and F bug anymore, but I am having a problem where the A register is being loaded without a clock pulse. Hopefully putting capacitors on a few of the clock pins will make it run properly. It should definitely be easier to solve than the Swap bug.
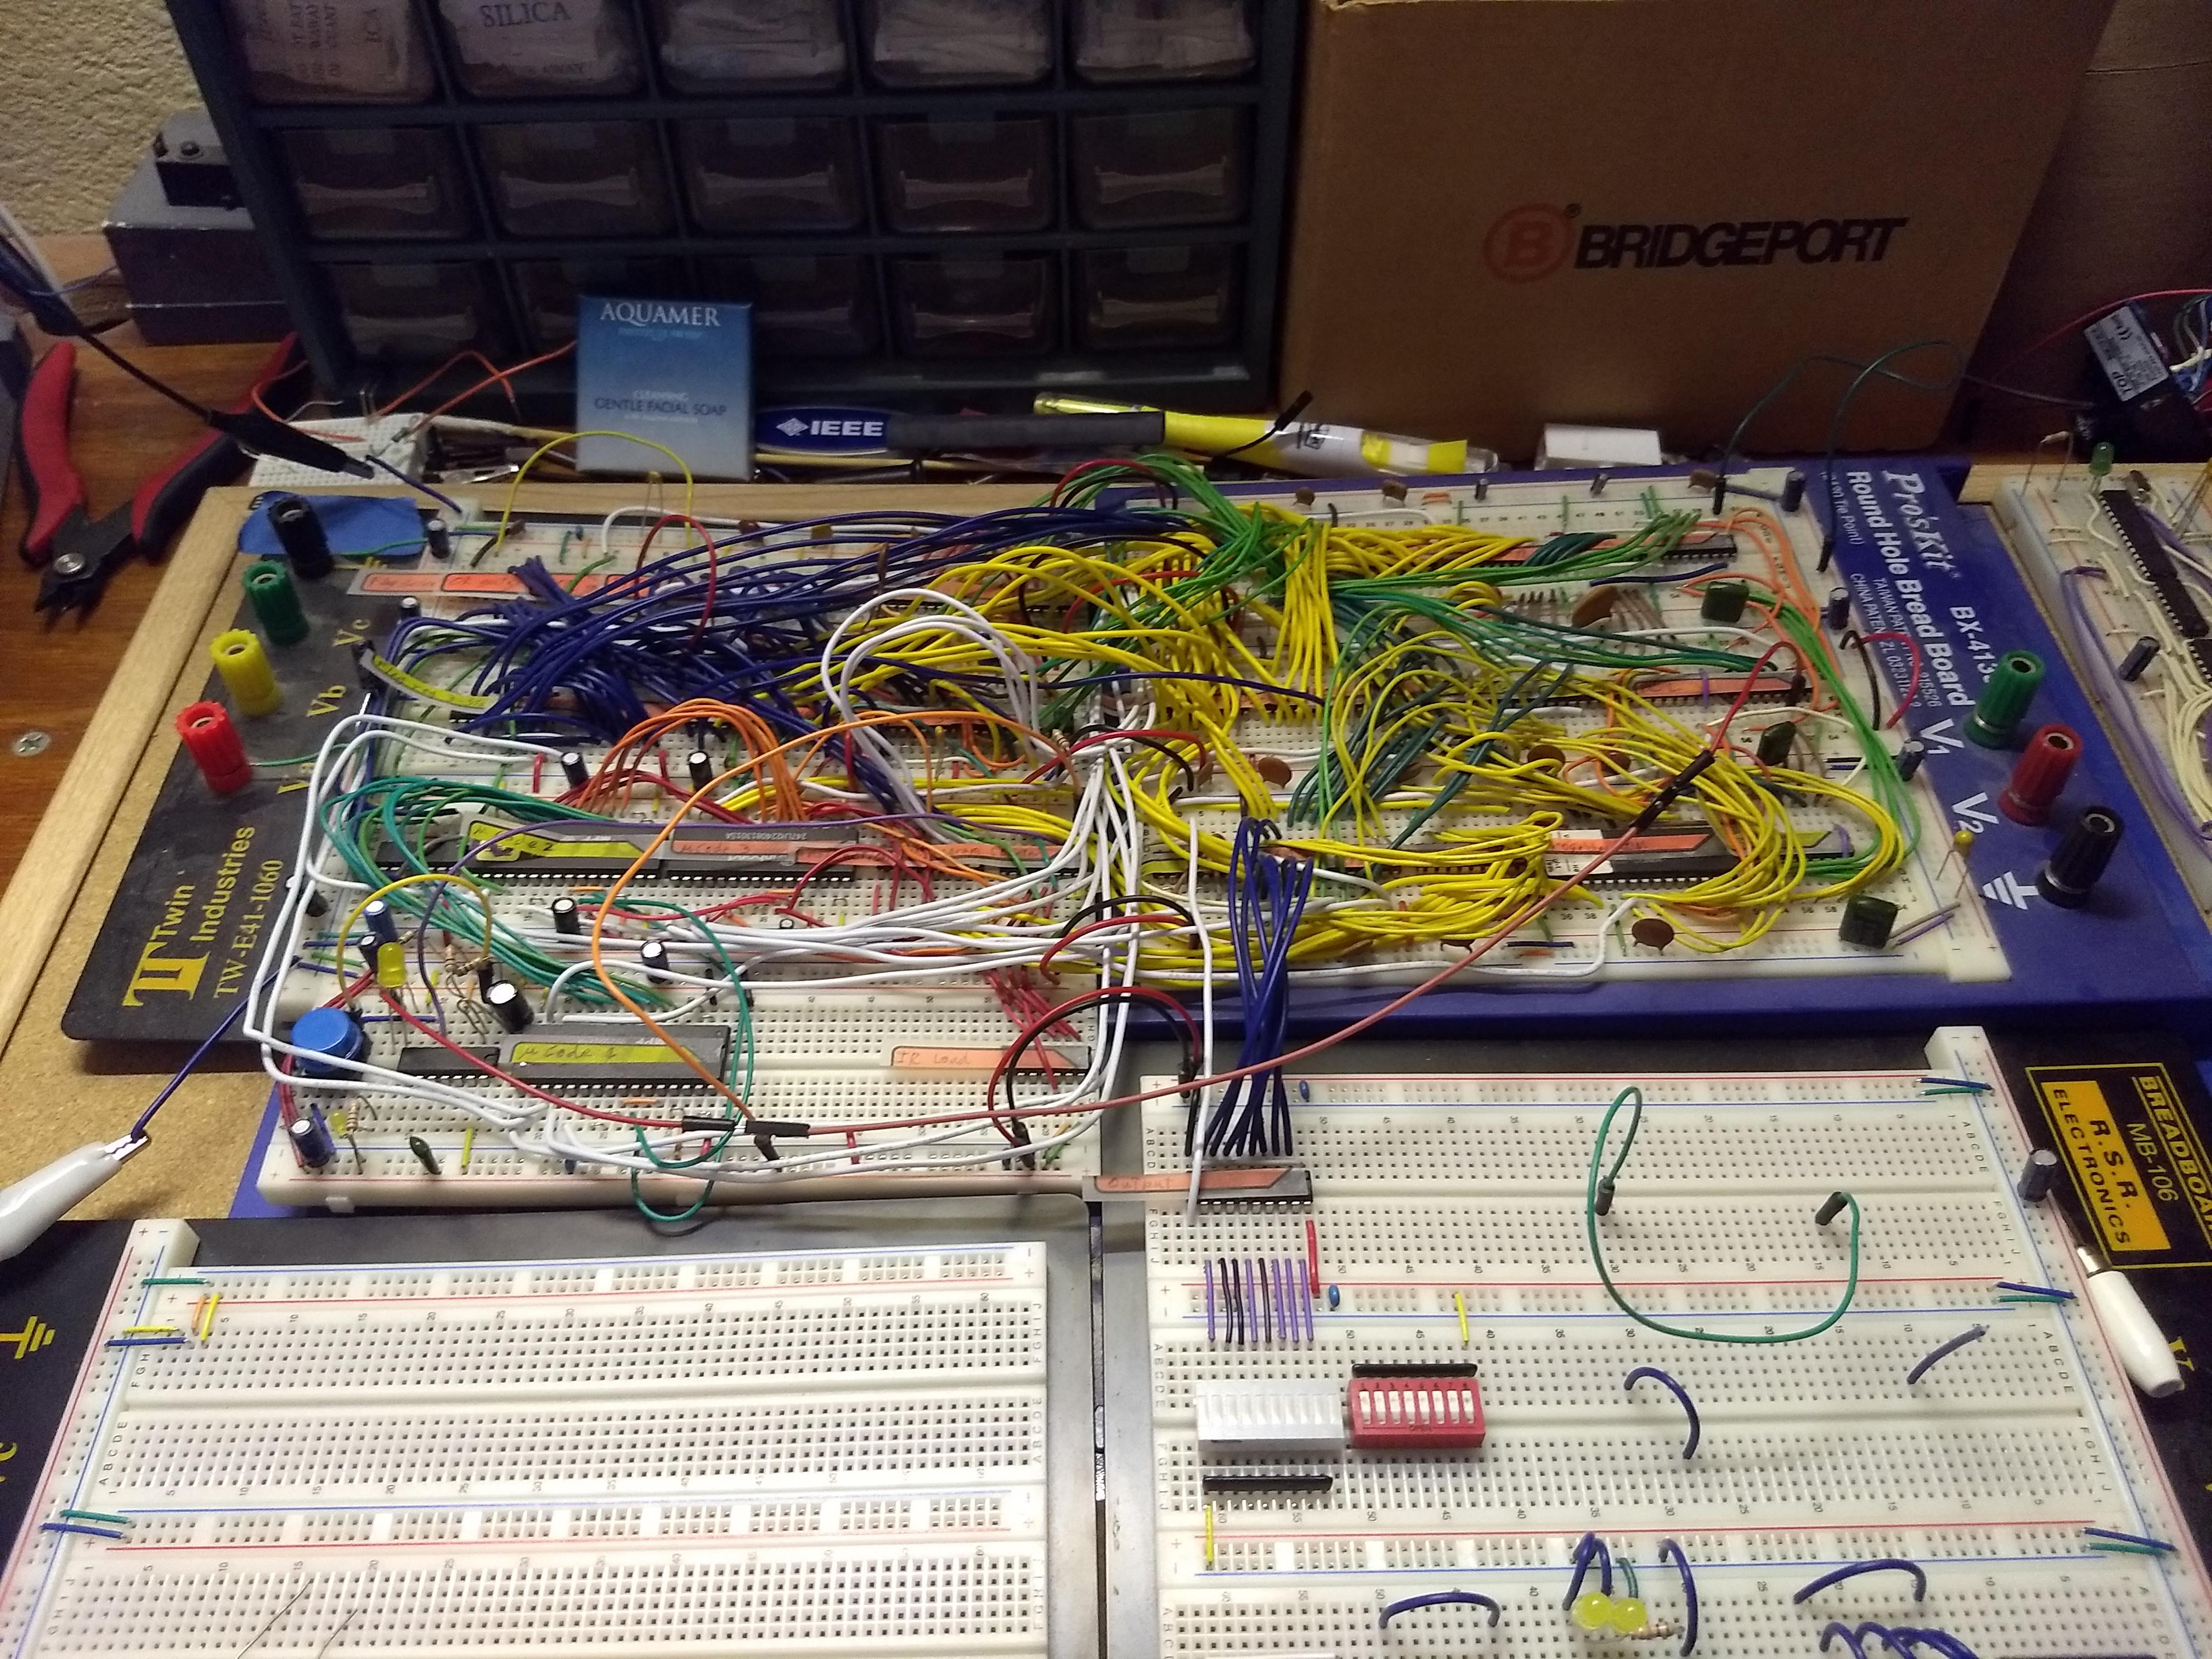
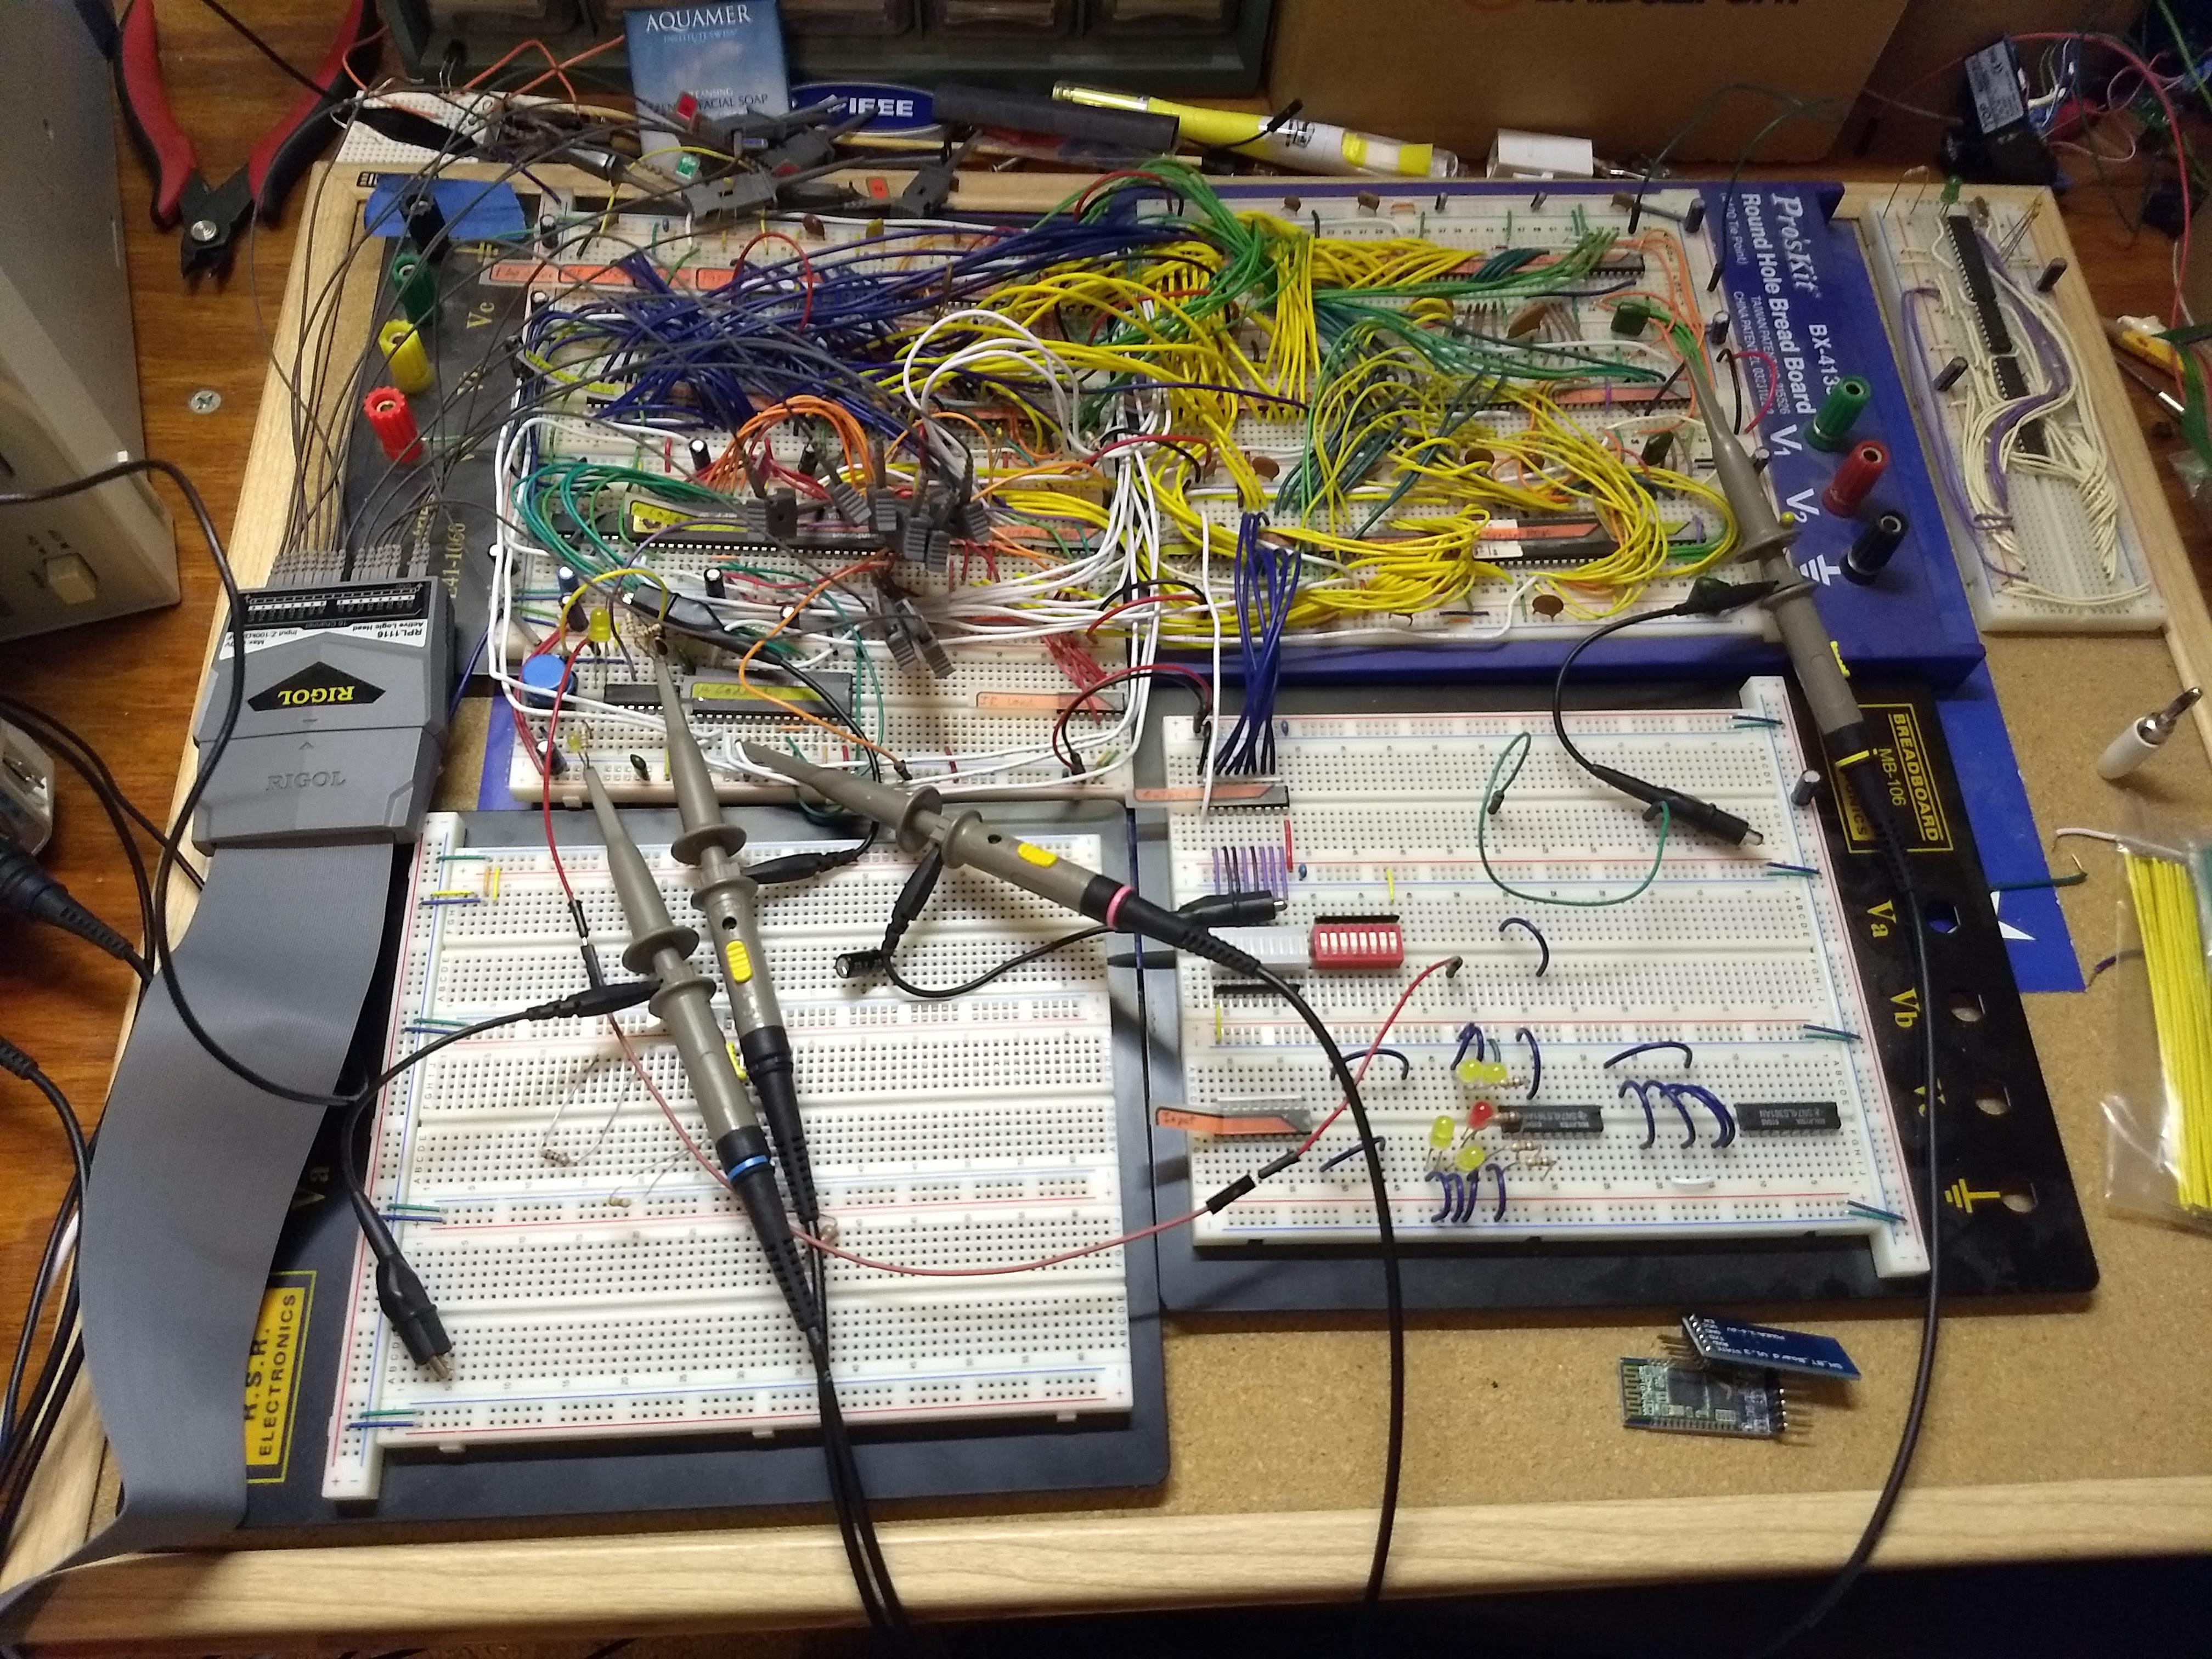
I have decided to stop using EAGLE because of its limitations (and that fact that I didn't want to sign in to Autodesk), so the MicroComp schematics are now available for KiCAD as well. I used the built-in conversion tool, so not everything may work correctly.
1/13/2020
I worked on MicroComp a bit more. I tried adding a capacitor to the ACLK signal, and the LEDs started blinking! They are not, however, blinking out the Fibonacci sequence like they are supposed to. Instead they are adding two each iteration.
Files:
MicroComp reference v1.1.1 (txt)
MicroComp reference v1.0 (txt)
MicroComp KiCAD Schematics v1.1.1 (zip)
MicroComp EAGLE Schematics v1.1.1 (sch)
MicroComp v1.0 EAGLE schematics (sch)
Test programs (zip)
Microcode v1.1.1 (zip)
Microcode v1.1.0 (zip)
Microcode v0.3 (zip)
Microcode v0.3 for simulation (zip)
Microcode v0.2 (zip)
Microcode v0.1 (zip)
This microcode assembler detects improper syntax by displaying the text "Segmentation Fault" and exiting.
Buggy microcode assembler (zip)
Note that the VHDL sources include the simulation microcode.
MicroComp v1.1.1 VHDL sources (zip)
MicroComp v1.0 VHDL sources (zip)
The MicroComp simulation sources are dependent upon these 7400 series VHDL modules
7400 series VHDL sources (zip)
Anything related to development of MicroComp.
Development scratch-work (zip)